Event Host Instruction Sharing
Offstreet allows parking teams to easily communicate parking information to event hosts by sending pre-formatted instructions directly from the platform. This streamlines workflows, ensures accuracy, and enhances the event host experience.
Why This Matters
Historically, parking teams would copy/paste event links and manually write instructions in emails—leading to inconsistent communication, time-consuming back-and-forths, and frequent errors.
With the new Event Host Instructions workflow, you can now:
- Load saved templates or write instructions on the spot
- Embed key event details (event name, portal link, QR code)
- Attach supporting documents or maps
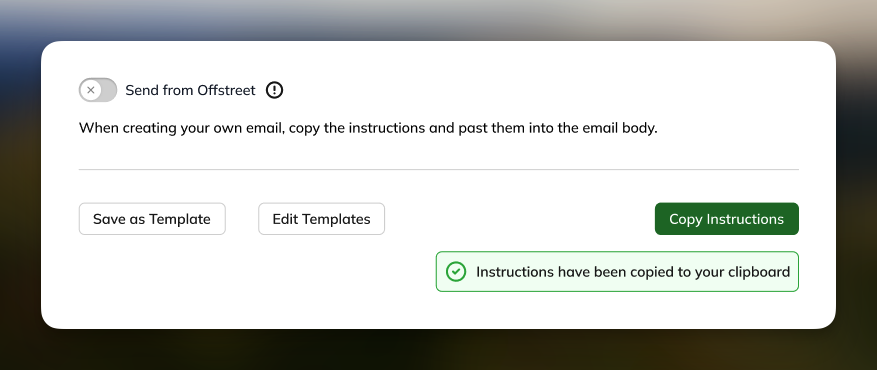
- Send the email from Offstreet, or copy it into your own system
This ensures your event hosts receive a clear, consistent, and timely message every time.
How It Works
1. Finish Creating an Event
Once you complete an event in Offstreet, you're directed to the Share Event Instructions screen.

2. Write or Load Instructions
Use the text editor to write a custom message or click Load Template to select a saved template. You can insert dynamic placeholders like:
- Event Name
- Event Link
- QR Code
- Location
- Event Times
- Host First Name
- Host Last Name
- Your Name
- Company Name
These fields auto-fill with the correct event details.

3. Attach Files
Upload parking maps or other documents using the Add Attachments area. You can also select from previously saved files.

4. Choose How to Send
Option A: Send from Offstreet
- Toggle on "Send from Offstreet"
- Set your Reply-to Email, Subject, and Recipients

Option B: Send Manually
- Leave the toggle off
- Click Copy Instructions and paste into your email client

5. Preview and Send
Click Preview Email to view the message. Once you're happy, click Send (or paste the copied text into your own system).

Best Practices
- Use Templates: Save time and stay consistent
- Include Maps: Upload visuals for better clarity
- Reply-To Field: Set to your department email
- Test First: Always preview the email before sending
Instruction Templates
Access templates via the Instruction Templates section in the left nav. Create and save templates for various event types (e.g., Athletics, General Events).

FAQs
- What if my email ends up in junk?
Use the Reply-To field or send manually to improve deliverability. - Can I send to multiple event hosts?
Yes, use commas to separate addresses. - Will the QR code and event link be accurate?
Yes, placeholders auto-update per event. - Can I create my own templates?
Yes, from within the Instruction Templates section. - What happens if someone replies to the Offstreet email?
Their reply goes to your set reply-to address; otherwise, it may go to a no-reply inbox.
Was this article helpful?
That’s Great!
Thank you for your feedback
Sorry! We couldn't be helpful
Thank you for your feedback
Feedback sent
We appreciate your effort and will try to fix the article